For 2013 I’ve challenged myself to print one thing a month. It’s only two months in, but this extra push to get away from the computer and do something messy and analogue has been a blast so far!
January’s print was a code generated art print, so I decided to go with some lettering for February’s to mix it up a bit. I brought a camera along this time around to share the process behind it.
Sketching
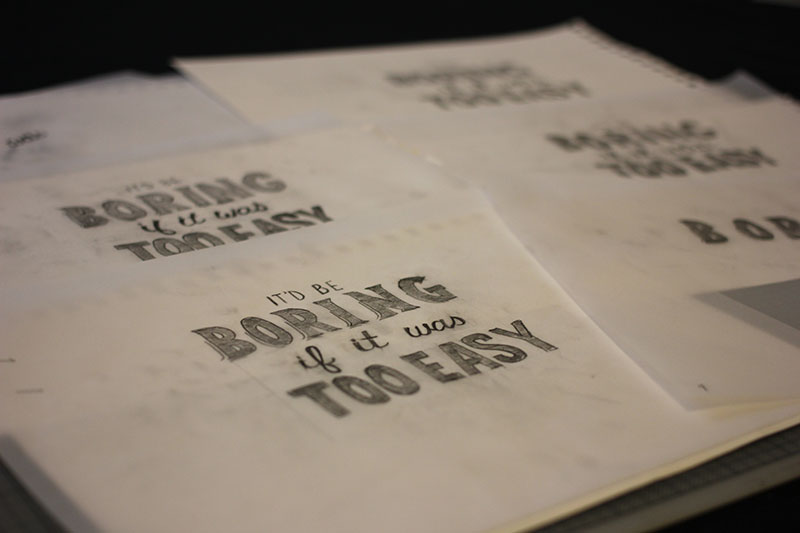
I was working on a pretty tight timeline for this one, so there wasn’t a whole lot of time for sketching. (Yes, even though I had all month, I waited until the 26th to start. Oops.) My goal was to create something for this quote that was a little fun and to get in some lettering practice.
I drew up a few takes and then hit the scanner to frankenstein the best bits of each sketch together in one composite sketch to use as my base artwork.
To The Beziers!
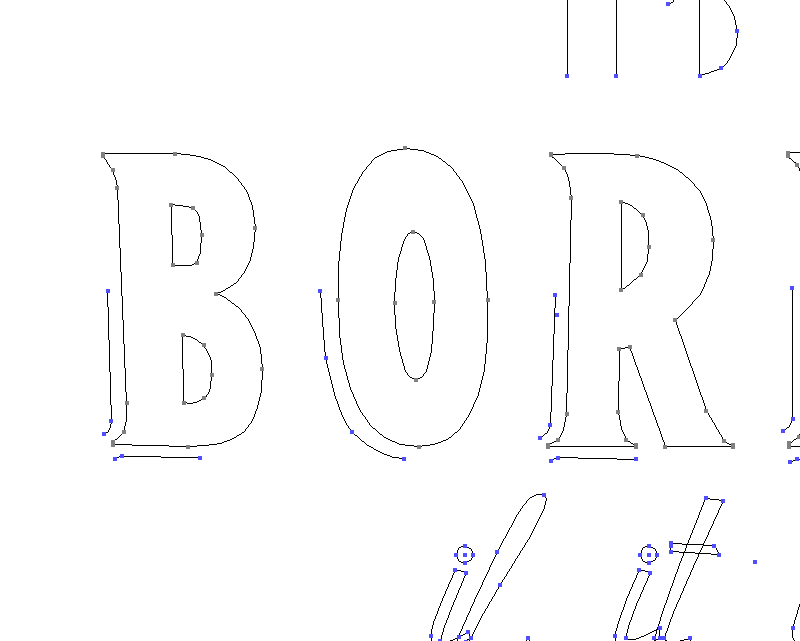
Next, it was on to Illustrator to trace my composite sketch. It is possible to use hand drawn artwork for your films, but I like to use this step to make fixes and adjustments. It’s also much easier to play with colour when you’ve got everything as vector.
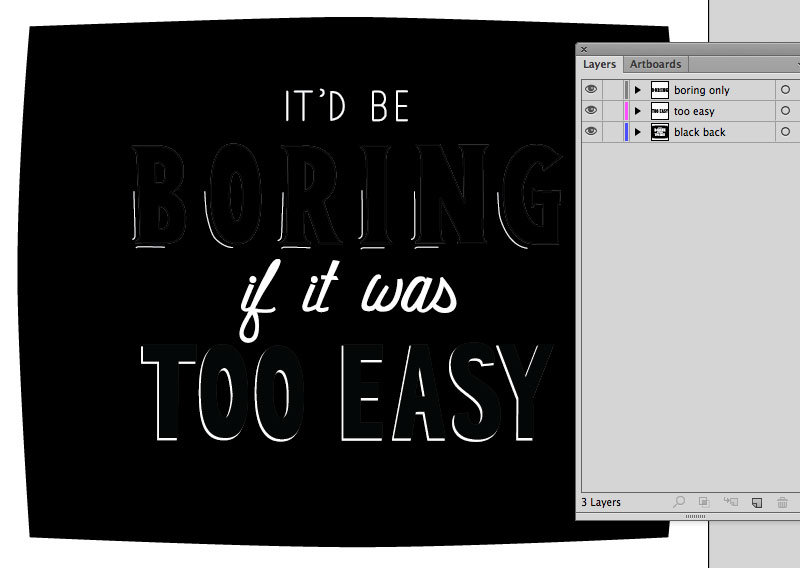
Colour Separations!
Colour separations for this one were pretty easy. I have the background in black with all the letters knocked out, even the ones that will get filled with another colour. Then, one separation of each other colour. Here it is all black on black. One layer for each colour so it’s super easy to print each layer individually.
With my colour separations all set up in Illustrator, I’m off to Secondblock Studio’s print studio to get printing!
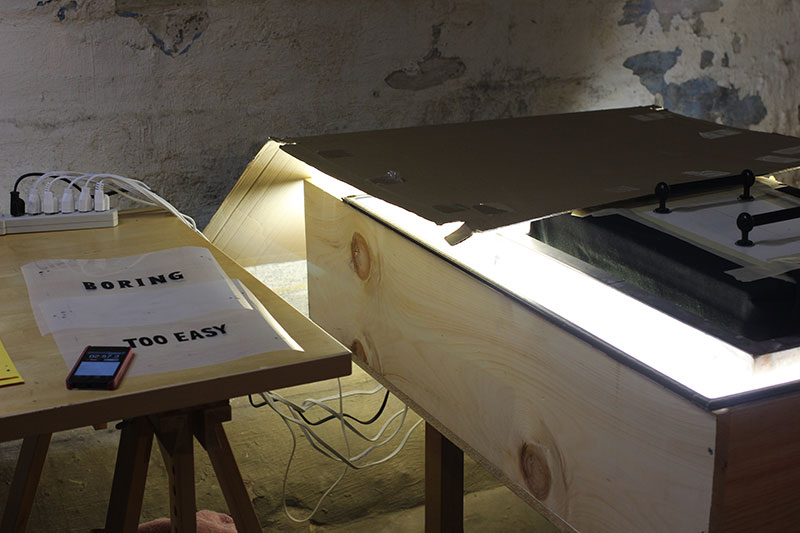
Making the Screens
With each colour separation printed on it’s own transparency, or film, I’m ready to burn some screens. I burned three screens in total, one for each colour. In the shot below, the first film is on the light table along with the first screen under the black weights. The other two films are hanging out waiting for their turn.
Each screen gets washed out and dried on the darker side of the studio which makes it very unfriendly for photos. But that part is pretty boring anyways, so let’s skip to the part where the screens are washed and dried and ready to print. Ta da! The first screen is locked up and ready to print:

Getting Ink On Paper
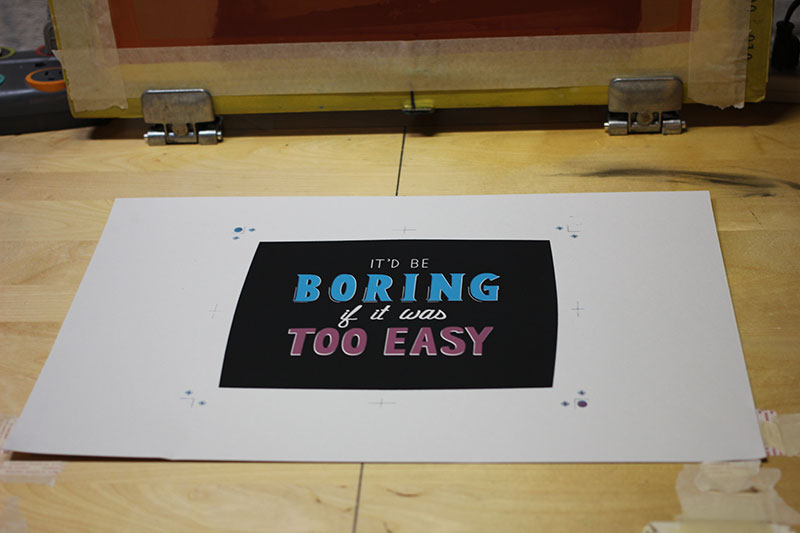
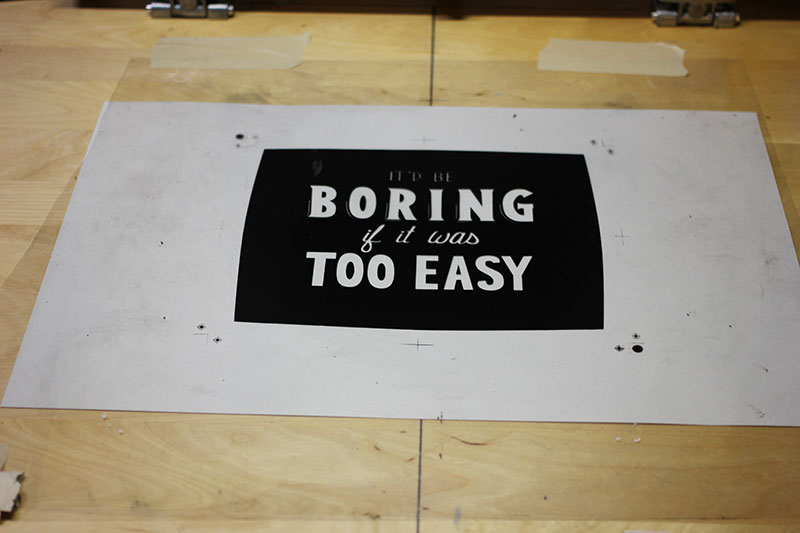
Now we’re onto the fun part! The first colour to go down was the black background. To get everything all registered I print each colour on a transparent sheet first, then slide the paper underneath to position it. Once it’s in place, I mark the spot with tape and match up each subsequent sheet up with those. Yay, tape registration :)
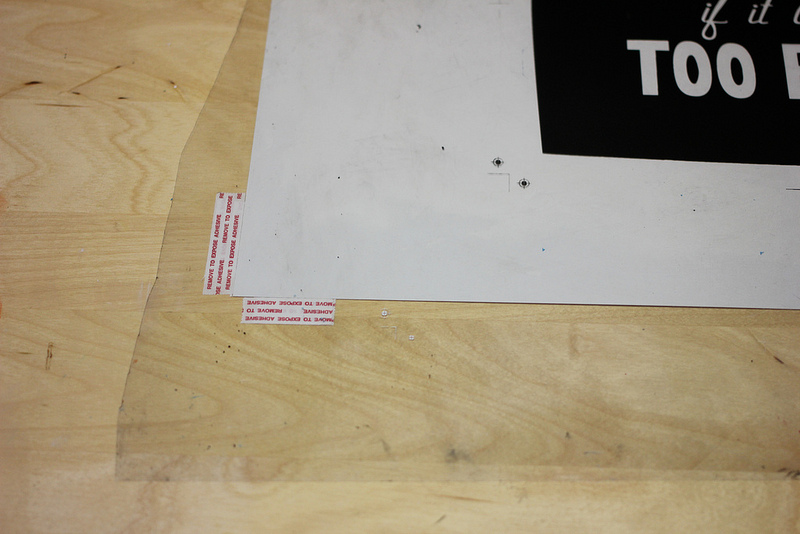
Those registration steps get repeated for each colour. Here’s colour number two getting all lined up:
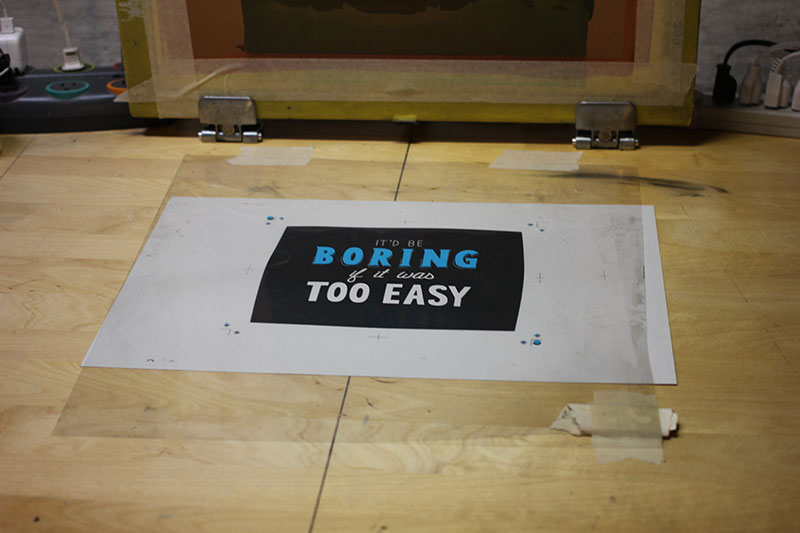
After quadruple-checking the registration, it’s time to print: Paper down. Screen down. Pull. Screen up. Flood. Paper out. Repeat! More on that part next time :)
I’ve posted a few more process shots on Flickr as well.