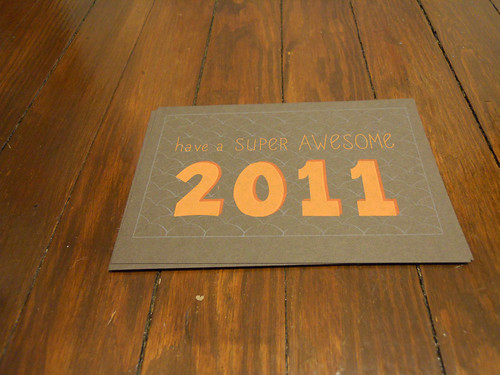
My last printing project of 2010 was a happy new year card that I sent out to some friends a few weeks ago. I thought I’d put my money where my mouth is and post a little bit on the process behind this project. I always love reading about other peoples’ process!
This was a personal project I did just for fun, so I admit, it’s not the most streamlined process ever. From start to finish, it took a few evenings throughout the last weeks of December.
The Planning Stages
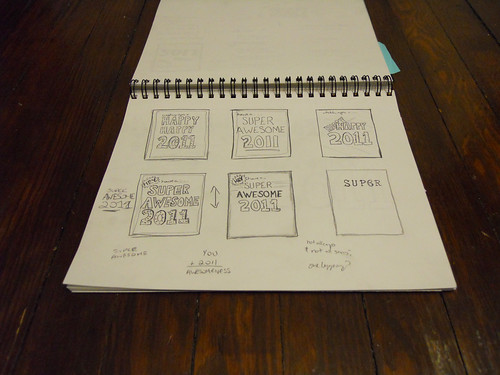
I had a pretty good idea in my head of what I wanted the card to be before I started, but I still did a few quick thumbnails to help think it through a little more.
The 5×7 postcard formart was decided on mostly out of not having any reliable way to score the paper for a folded card. Especially not cover weight paper. I wasn’t willing to give up paper weight, so postcard it was!
Once I figured all that out, I drew up a tracing paper version at 100% of the final size. I was considering doing this one entirely by hand and photocopier which is why I did this. In the end I decided to move to Illustrator after all.
Into Illustrator We Go!
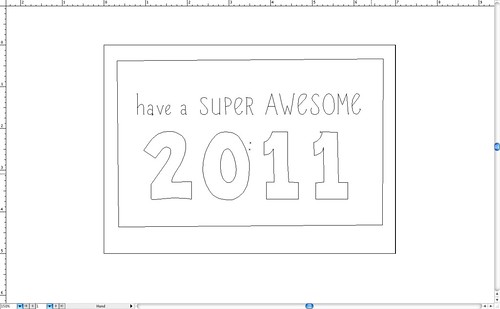
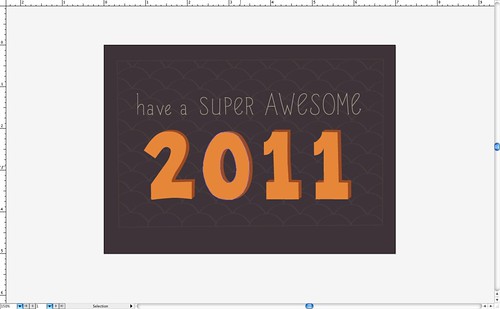
I scanned each “layer” of the tracing paper mock-up and placed them in Illustrator. The design was pretty simple, really, so I traced it all by hand. No fancy live trace action here.
Once it was all traced and vector-y, I played a bit with colour and sizing and simplifying the patterns to get it to a more finished state. The background pattern is based on one I get stuck in my head every time I visit the Carnegie Library in Oakland.
Getting All Printy
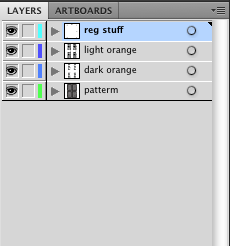
Yay, so the design is all set! Time for the fun stuff: colour separations, trapping, and laying it all out for printing. I usually keep the separate colours on different layers as I trace/draw, and then move to a new file to set things up for printing. It makes me feel super organized.
Bigger is always better, so I went with 12.5″ x 19″ paper. 100lb French Construction paper in charcoal brown to be exact. Love French paper!
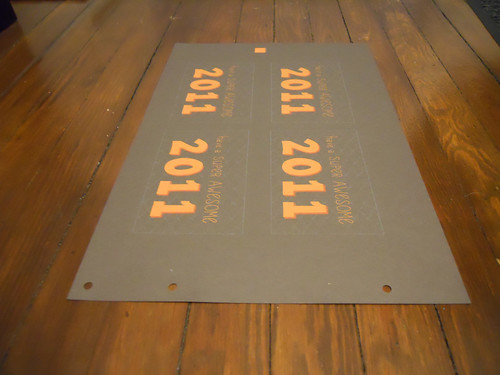
I set up my file to print the postcards 4-up with a bigger margin along the bottom to allow space for the pin registration holes. I skipped crop marks this time around and just took measurements of how much I’d need to trim from each side instead. That silly square up in the top margin is my little extra registration checking trick. (not really, much of a trick but it helps!)
At this point I also had a little reality check and paired things down to a 3-colour print instead of 4 to make sure I could get them done in one night. I’m usually a fan of slightly mis-registered things, but I really wanted to have my numbers and their shadowy bits tightly registered this time around. Being extra picky about registration slows me down a little. But it was totally worth it!
Off To Print!
I don’t have any pictures of the actual printing for this one. It could probably be a whole post on it’s own, really!
But, it’s worth mentioning that I print at Artist Image Resource’s open studio nights. AIR is an amazing resource to have in Pittsburgh! If you’re curious about printing you should definitely check it out. ( I usually tweet when I’m going to be there if you want some company.)
Finishing
Printing 4-up means lots of cutting! Lucky for me, Allison lent me the biggest roto-trim cutter I’ve ever seen. Seriously, it’s so big I don’t even have a table big enough to put it on, so I set up on my dining room floor.
So that’s it! There’s a set on Flickr of all the pics referenced in this post. The cards are all cut and sent and now it’s on to the next print project for me!
