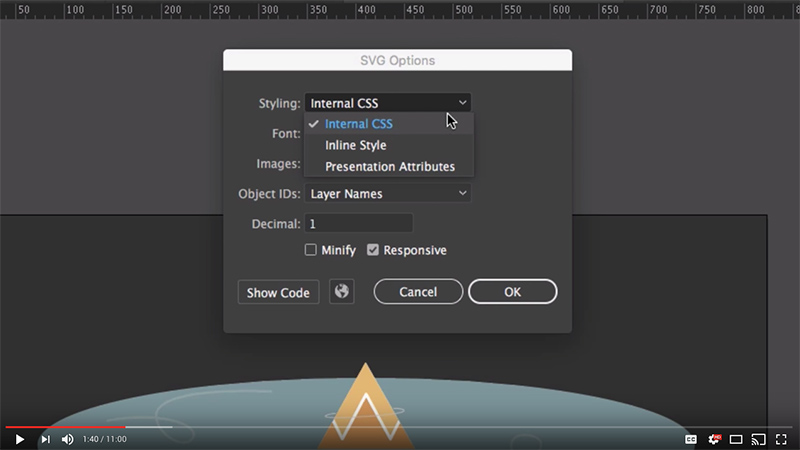
I get a lot of questions about Illustrator’s SVG export settings, so I made this short video explaining Illustrator’s settings and which ones I tend to use. Setting up your SVG code well can save your future self loads of time when it comes to the actual animation part!
If you’ve been curious about what all those settings mean, check out the full video.
Also, this is my first tutorial I’ve posted on YouTube after publishing on Vimeo for the last couple of years. If you want to see more web animation tutorials, subscribe to my YouTube channel and I’ll keep posting them there.
ETA One more tip!
Chris Gannon mentioned that he used the Export for Screens setting in Illustrator a lot for his SVG exporting. I hadn’t looked at that option before, but as it turns out, it gives you the same SVG export options shown in the video and also allows you to export a number of artboards or SVGs at one time. That’s pretty handy! (Click the little gear icon to open up the full list of export options, set them how you want them, then export all the SVG things.)

For even more on Illustrator SVG export settings and tips on exporting SVGs, check out these articles. (The Illustrator export interface has changed since some of them, but their info is still good.)
Export SVG for the web
Time Saving Illustrator Tips
SVG tips for designers